Welcome to a new InTheMail, the series that will touch both your passion for electronics and your bank account at the same time. Before I get started I’m gonna take a second to remind you to subscribe to the channel and hit the bell notification icon because that’s the only way you will know for sure when I upload new videos. I’m gonna start with an item that’s actually disappointing, this is a mini portable vacuum cleaner but I only realized this after receiving the item, because the seller of this item was advertising this as a dust blower vacuum cleaner, it’s the usual keyword stuffing that aliexpress sellers do.
Tag: Wireless
Voltlog #257 – ESP32 PIR Motion Sensor With Deep Sleep & MQTT (revB part2)
In this video I’m gonna show the second revision of my esp32, battery powered PIR motion sensor. This second revision contains some optimizations to improve deep sleep power consumption as well as to fix some of the errors I had the first revision of the pcb.
Voltlog #240 – ESP32 PIR Motion Sensor With Deep Sleep & MQTT
Welcome to a new Voltlog, in this video I’m gonna show you how I designed and built this board which functions as an esp32 based, battery powered PIR motion sensor. So I started by designing the circuit, I used some common building blocks, I added the ESP32 with it’s bypass caps, some test points and the programming circuit with auto-reset, I then added some connection points for the PIR sensor, an RGB LED because why not have a nice way to signal this is one of those very small digital RGB leds, it’s just 20x20mm, it’s connected to 3.3V even though it’s only rated for 5V so I’m hoping this is going to work even on 3.3, it’s also worth having a temperature/humidity sensor to also sense that in whichever room the node will be placed and finally the power supply circuit which is a simple low dropout regulator with an 18650 battery as the input.
I did not include a battery charger circuit on this module, because I wanted to keep things simple, I’ll have a battery socket so I can just remove the 18650 cell and charge it separately plus the whole circuit should run in sleep for extended periods of time giving me a long operating time so i wouldn’t have to charge the battery too often.
Once the schematic was finished I did the board layout in a hurry so it’s not exactly pretty or optimized
but I tried to move the esp32 antenna to the side, to place the PIR sensor in the top side as the module will probably sit vertically, I tried to place the temperature sensor in the bottom side to keep it away from any components that might get hot and also placed some isolation slots for the same reason.
You should check-out revB of this board, I made some improvements present in the video below.
Voltlog #77 – InTheMail
Here is a list with the items shown in this video:
- USB Drive Spy Camera
- 35W Radar Motion Sensor Switch
- 4 Channel Wireless Remote Control Switch
- 64 LED 20W 2835 Horizontal Led Light
- 64 LED 60W E27 5730 Light Bulb
- 21 LED 15W E27 Globe Light Bulb
- 21 LED 15W E27 Energy Saving Light Bulb
Links for all of these will be in the video description on youtube.
Voltlog #56 – Broadlink RM Mini 3 Black Bean Teardown
I haven’t done any teardown for a while so today we’re going to take a look inside the Broadlink BlackBean, model RM Mini 3.
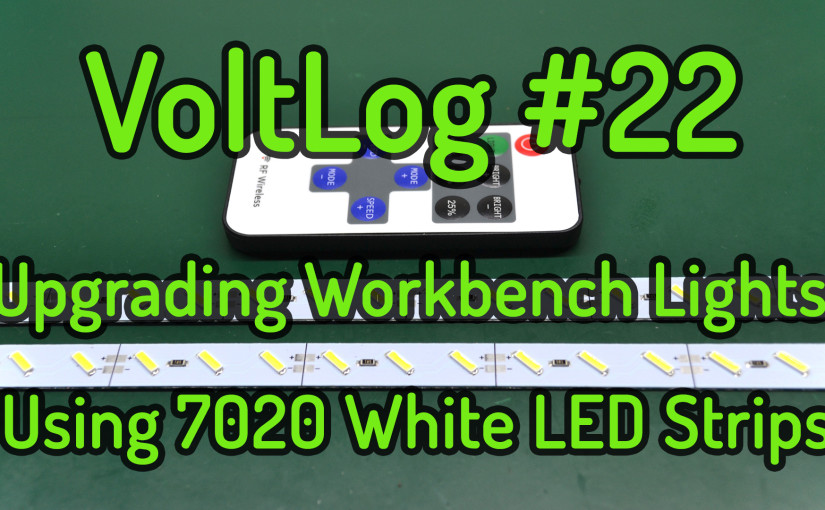
Upgrading Workbench Lights Using 7020 White LED Strips
Although the operating temperature of this LED might be up to 85 deg C, while looking through various datasheets, I couldn’t find a graph showing a plot of the expected life in hours vs temperature. If I were to guess I would say you need to run these at less than 50 degrees C to get some decent life out of them. There was a mention of a stress test in a datasheet and that meant for that particular led manufacturer running it at 60 degrees C full rated current for 1000 hours with no resulting damage.
If you have any info on these LED’s and what temperature they should be running at to get some decent life out of them, please leave a comment below.
So to finish up on this story I have to say that I learned some things about these LED strips. If I were to design something from scratch I would run some basic thermal calculations based on the figures from datasheets but in this case, with these chinese led strips, there is no datasheet, I can’t even easily compare to existing datasheet because these can’t be compared: the driving current is different, the LED only has one die in my case and so on.
The next thing I will try is to double my L shaped heatsink with another piece the same model and size this way I will be increasing my heatsink surface and hopefully cool the LED’s better, maybe shave another 5 degrees.
I will be posting an update with some measurements for comparison once I get the upgrade done. Links for the power supply, led dimmers as well as the light meter used in this video will be in the description of the video so do check them out.
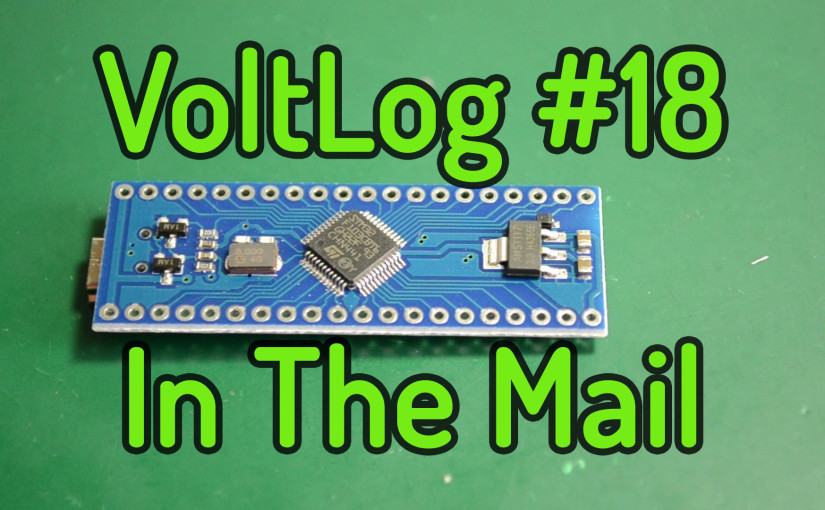
Voltlog #18 – InTheMail: 7020 LED Strip, STM32, STM8, Wireless Remote Dimmer
In this epissode I receive: A set of rigid 7020 white LED strips, Wireless Remote LED Dimmer, Maple Mini STM32, STM8 dev board, spade connectors and some Logitech Z2300 ALPS potentiometers.

