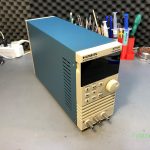
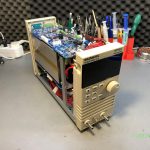
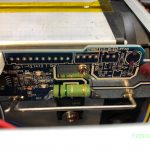
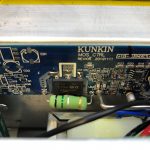
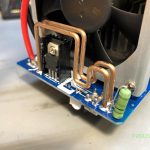
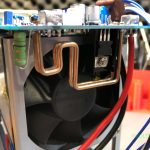
In the previous video I reviewed the KP184 electronic load, I showed you all the features it has, I tested the accuracy of the front panel meter but the video was getting quite long and I skipped the teardown for a future video. Well, this is it, it looks like we have a bunch of screws that have to be removed to slide the folded metal cover off.
As you may remember from the previous video I discovered something related to wiring & safety, the earth wire was connected to the bottom part of the enclosure but it wasn’t connected to this blue cover which is also metallic. Now we can see why, this has a thick coat of paint so we can fix this by either scraping the paint away in the area where this makes contact with the bottom part or we could add a separate earth wire which would probably be a more reliable way to fix this.
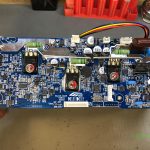
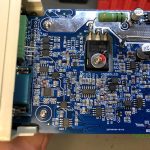
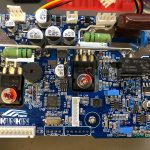
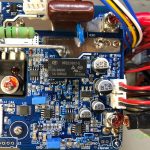
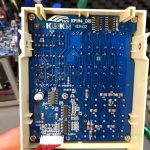
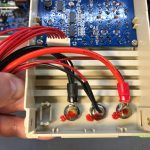
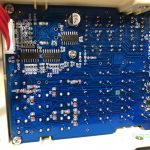
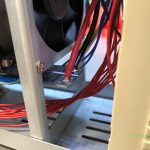
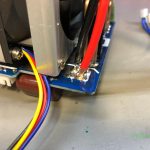
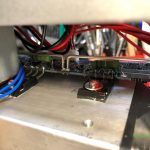
The first thing I’m noticing is the silkscreen, this board is version 04 and has a date code of November 2019. And there are a bunch of other nicely placed labels for various signals throughout the board. Soldering looks to be nice and clean with the exception of these thick wires coming from the bottom board, which in this particular joint looks like it hasn’t flowed sufficiently, I will have to fix that later. Wires are nicely secured with adhesive to their end connectors and apart from these thick wires coming from the bottom board everything has connectors which makes it easy to disassemble and service.
